In today's article, we will learn about Stack Navigation, what it is, and how it is.
What is Stack Navigation?
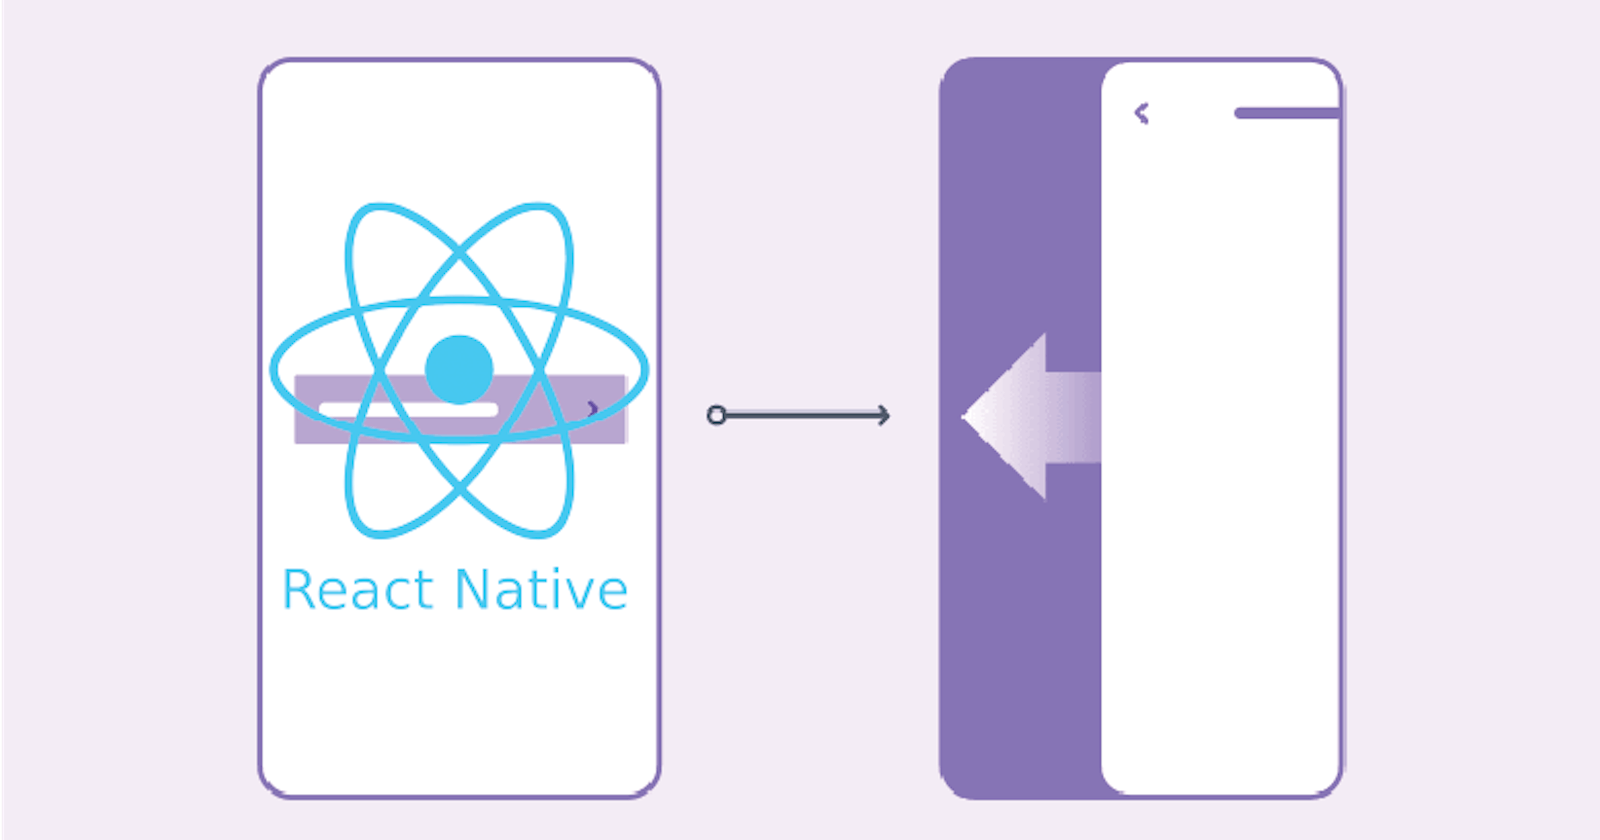
If you come from a web development background, then it is very easy for you to grasp what is Stack Navigations, It is simply how to transition from one screen to another, like moving through pages on a website, from Home to About or FAQs, though Mobile apps treat it different, not the way web pages do there own. On mobile apps, you are pushing another screen on top of the previews screen, like when you launch Google Play Store, it is initially on Home Screen, then you press the search bar to search for an app when you type the application name and hit enter, it will take you to another screen, (the screen of the app you searched) so, the new screen is pushed on top of the Home Screen, the same thing happened when you click the app about or review button, it will push that new screen on top of the screen you are before.
Installations
Before you continue, these are the prerequisite for this article
- JavaScript (Intermediate)
- React (Intermediate)
- React Native (Basic)
and make sure your machine has NodeJS installed or yarn.
Run
yarn --version
or
node --version
to check them. For the purpose of this article, I'm gonna be using yarn, you can use npm if you like.
Creating New Project
Create a new React Native application either with expo or react-native CLI and then run the following commands
yarn add @react-navigation/native
React Navigation is made up of some core utilities and those are then used by navigators to create the navigation structure in your app.
If you are using Expo, then run this command in your terminal/command prompt, if you are not using Expo, then skip this part
expo install react-native-screens react-native-safe-area-context
Now Install the dependencies into a bare React Native project
yarn add react-native-screens react-native-safe-area-context
for iOS devs running MacOS, cd into your ios and pod install
cd ios && pod install
for navigation to work properly on android, navigate to your MainActivity.java class file which is located in android/app/src/main/java/<your package name>/MainActivity.java, and add this line of code.
@Override
protected void onCreate(Bundle savedInstanceState) {
  super.onCreate(null);
}
and add this input at the top of the file (MainActivity.js)
import android.os.Bundle;
After all, wrap your app entry-level App.js with the following line of code.
<NavigationContainer>{/* Rest of your app code */}</NavigationContainer>
Don't forget to import NavigationContainer in the file, the file should look like this
import React from 'react';
import { View, Text } from 'react-native';
import { NavigationContainer } from '@react-navigation/native';

const App = () => {
  return (
    <NavigationContainer>
         <View>
             <Text>React Native Navigation</Text>
         </View>
    </NavigationContainer>
  );
}
Now Install the native stack navigator library, see below
yarn add @react-navigation/native-stack
Creating a native stack navigator
In your App.js file, import createNativeStackNavigator from @react-navigation/native-stack the package you just installed. Initialize your stack by doing this
import {createNativeStackNavigator} from '@react-navigation/native-stack';

const Stack = createNativeStackNavigator();
NB: I use Stack here to make it easier to understand, you can use any name you like.
Now, wrap your return with the Stack variable you just created, and specify the screen you and to point as your Home Screen
const Stack = createNativeStackNavigator();

const App = () => {

return (
  <NavigationContainer>
     <Stack.Navigator>
       <Stack.Screen name="HomeScreen" component={HomeScreen} />
     </Stack.Navigator>
  </NavigationContainer>
)
}
The HomeScreen is the screen component that you want to render as home.
Navigating through Stack
For easy navigation from one screen to another is through Button, I'm gonna be using TouchableOpacity here but you can use any React Native component that can handle onPress function.
Now create another new component called AboutScreen and scuffle the boilerplate of react-native code, in the component create a TouchableOpacity button and append this onPress handler to it. see below
<TouchableOpacity onPress={() => navigation.navigate("AboutScreen")}>
     Go to About
</TouchableOpacity>
The navigation prop can be passed to HomeScreen as props, we can also use the useNavigation hook gotten from @react-navigation/native also.
import {useNavigation} from '@react-navigation/native';

const HomeScreen = () => {
  const navigation = useNavigation();
  return (
    <View>
      <Text>Home Screen</Text>
      <TouchableOpacity onPress={() => navigation.navigate('AboutScreen')}>
        Go to About
      </TouchableOpacity>
    </View>
  );
};
then, in your App.js add the AboutScreen in the Stack sceens.
<Stack.Screen name="HomeScreen" component={HomeScreen} />
<Stack.Screen name="AboutScreen" component={AboutScreen} />
NB: Make sure the name you passed in the navigation.navigate method matches the name in the screen prop.
Congratulations,
You have implemented your first navigation in React Native.
This is just the basic, Stack navigation can be more complicated, especially when dealing with nested navigations.
Continue Your Journey
That it is, to continue your journey with React Native Stack Navigation head over to the official docs, I like it, their explanation is very understandable and easy to grasp. check it out here
